Retiring CentOS Without Losing Sleep: A Practical Walkthrough of a Splunk Cluster Manager Migration
CentOS 7 is end of life, and if you’re running Splunk, that eventually becomes your problem — not because Splunk 9.4 cares, but because Splunk 10.x won’t support it, and the Cluster Manager isn’t the kind of box you want to be dragging into an OS upgrade and a version upgrade at the same time. This post walks through how we approached moving a Cluster Manager (CM) off CentOS and onto Ubuntu, and what we learned along the way about which parts of Splunk clustering actually need careful handling.
The Environment
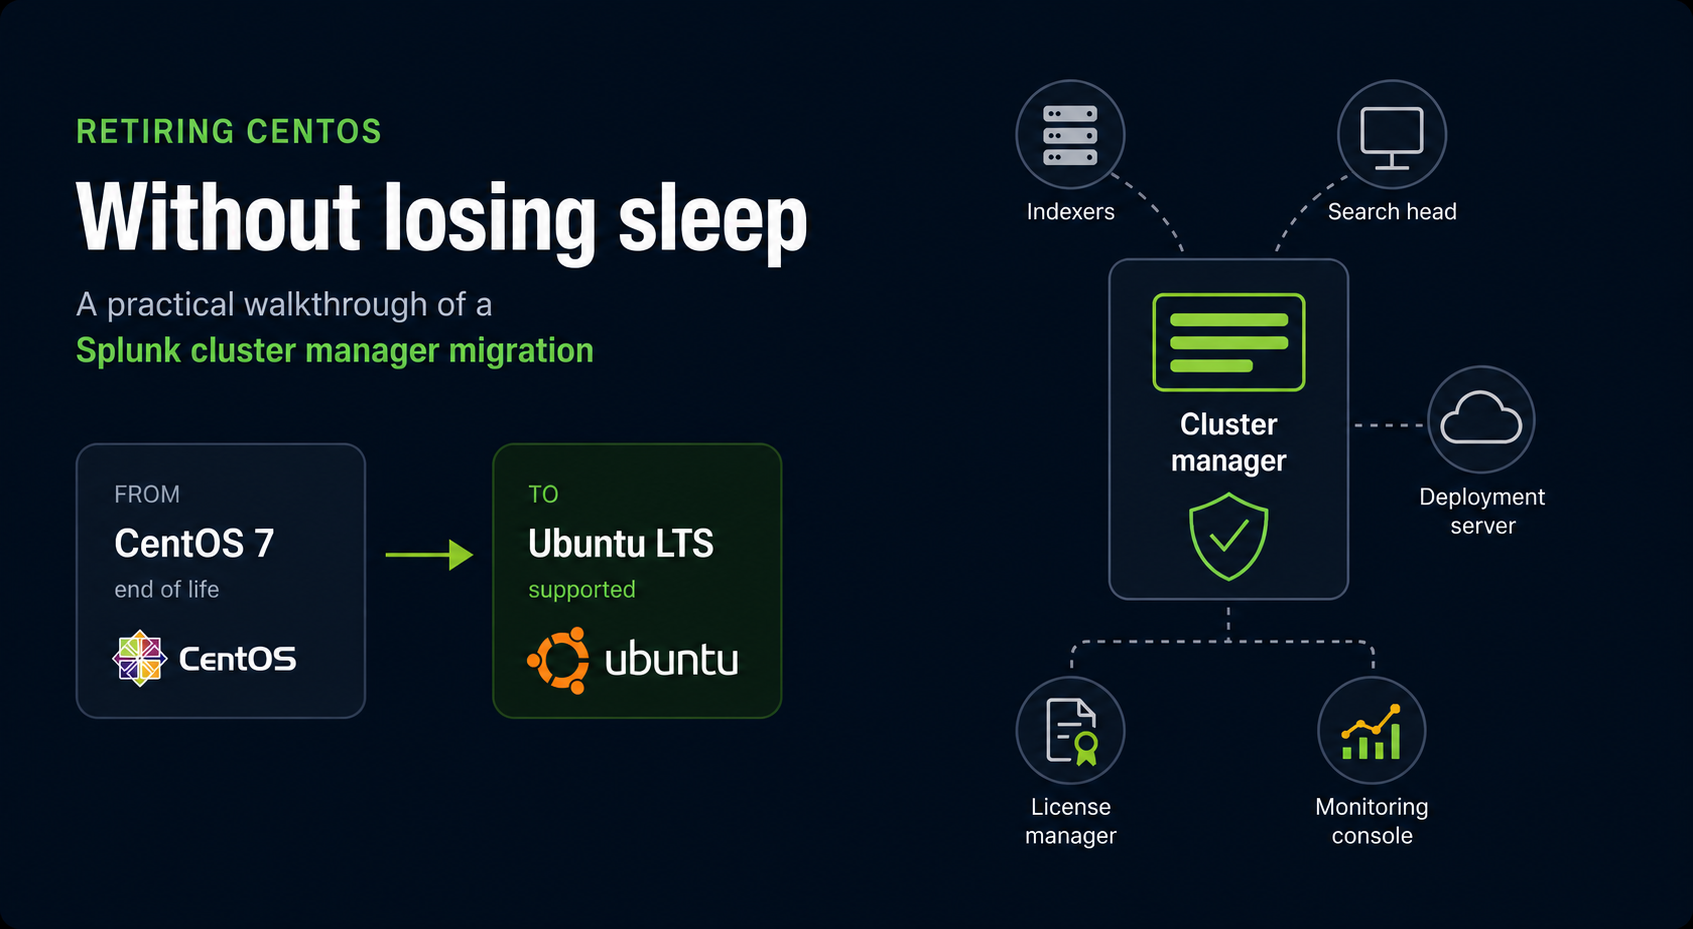
Nothing exotic: one cluster manager, two indexers, one search head, one deployment server. The CM also happened to be doing double duty as license manager and monitoring console.
Deciding What Not To Do
Our first instinct was to reach for Splunk’s built-in manager node redundancy — stand up a second CM, make it an active/standby pair, fail over, retire the old one. We actually built and tested this locally first: two CMs, manager_switchover_mode, pass4SymmKey, the whole thing, fronted first by an HAProxy load balancer and later by a hand-rolled /etc/hosts-based DNS simulation.
It worked. But it also made clear why you wouldn’t want to do this for a simple OS swap on a small, single-site cluster. Redundancy mode requires every peer and the search head to be configured with both managers, plus a rolling restart to apply it, and a second rolling restart later to remove the standby again once you’re done. That’s two change windows to accomplish what should be one.
So we didn’t use it. The real insight, once we sat with it, is this: A Cluster Manager holds very little unique, persistent state. It rebuilds its peer registry and bucket map from the peers themselves on every startup. What actually needs to survive a CM replacement is its identity — not a live failover mechanism.
That reframing turned a redundancy project into a much simpler one: build a new CM with the same identity as the old one, point the peers at it, verify, done.
The Identity Checklist
Three things make a CM “the same CM” from the peers’ point of view:
- splunk.secret — must be copied to the new CM before its first start. This is the key that decrypts everything else.
- The [clustering] stanza in server.conf — same pass4SymmKey (as an already-encrypted value, copied verbatim, not retyped), same cluster_label, same replication_factor / search_factor.
- The config bundle (manager-apps/, or master-apps/ if you’re on the pre-9.0 naming, which — good to know — is deprecated but still fully functional in 9.4.9) — this is what gets pushed to peers, and if it doesn’t match, the new CM can silently strip config from your indexers the moment they connect.
Get those three right, and the rest is just pointing peers at a new IP and restarting them one at a time.
The Actual Cutover, Once Identity Was Sorted
- Pre-flight, days ahead: capture a known-good baseline from the old CM (show cluster-status –verbose, bundle checksum, btool output). Build the new CM, copy identity in before first start, leave it running with zero peers — harmless, since nothing points at it yet.
- In the window: enable maintenance mode on both CMs. Repoint each peer’s manager_uri to the new CM and restart it, one node at a time, checking that it re-registers with the new CM before moving to the next.
- Verify: RF and SF met, zero pending fixups, bundle checksum matches the pre-cutover baseline (proof nothing got silently pushed), searches actually return results across both indexers.
- Disable maintenance mode. Leave the old CM stopped, not decommissioned, for a soak period — rollback, if you need it, is just pointing peers back and restarting them, because the old CM’s config was never touched in the first place.
The Parts That Weren’t About Clustering At All
The two co-located roles turned out to be their own small projects:
- License Manager doesn’t replicate anywhere automatically. We had to manually copy the actual .license files across and confirm the pools regenerated correctly.
- Monitoring Console isn’t part of the cluster-manager identity at all — it’s tied to the instance’s own topology config, and it doesn’t move with a CM swap. It just has to be reconfigured on the new cluster manager afterward.
It’s easy to forget both, since neither one is really about clustering — but skipping them causes real problems later.
Indexers Are A Different, Easier Problem
Once the CM was sorted, replacing the two indexers (also moving CentOS → Ubuntu) turned out to be simpler in a real way: indexers don’t hold cluster identity, they just get config pushed to them. The pattern was:
- Build the new indexers as fresh peers, pointed at the new CM.
- Let the cluster rebalance — with four peers temporarily in play, Splunk redistributes bucket copies onto the new nodes on its own.
- Because forwarders in this environment used static IPs in outputs.conf, we had to explicitly add the new IPs alongside the old ones, confirm the new indexers were receiving data, then remove the old IPs — straightforward, but a manual step to plan for on every future indexer swap.
- Gracefully take each old indexer -not under maintenance mode, since offline relies on the cluster manager actively rebalancing buckets away from that peer before it leaves, which is exactly the behavior maintenance mode suppresses. One indexer at a time, waiting for full health before starting the next.
splunk offline --enforce-counts
- After a peer goes down, it remains on the manager’s list of peer nodes. The main effect is that it continues to appear on the manager node dashboard, although its status changes to “Down”, “GracefulShutdown”, or “Stopped”, depending on how it went down. You can use the splunk remove cluster-peers command to remove peers from the list:
splunk remove cluster-peers -peers <guid>,<guid>,<guid>,...
You can also remove the peer from the manager’s list by restarting the manager.
Conclusion
A Cluster Manager’s replaceability comes down to three files and a lot of patience with restart; everything else — redundancy, load balancers, DNS tricks — is there for when you actually need automatic failover, not for a routine OS swap you’re doing once, carefully, in a maintenance window.
References
https://help.splunk.com/en/data-management/manage-splunk-enterprise-indexers/9.2/manage-the-indexer-cluster/take-a-peer-offline
https://help.splunk.com/en/data-management/manage-splunk-enterprise-indexers/9.2/manage-the-indexer-cluster/remove-a-peer-from-the-manager-nodes-list
https://help.splunk.com/en/splunk-enterprise/get-started/install-and-upgrade/10.4/plan-your-splunk-enterprise-installation/system-requirements-for-use-of-splunk-enterprise-on-premises